How to Take a Good Passport Photo: An Essential Guide

To have a smooth travel experience, it’s important to get a good passport photo. A photo that doesn’t meet the rules might cause issues like delays and extra expenses. Many people find it challenging to meet all the rules, which can lead to rejected photos.
This guide will help you understand how to take a great passport photo. Using these tips, you can steer clear of common mistakes and ensure your photo meets all the required criteria.
Let’s explore together and discover how to take a passport photo that will pass with flying colors on the first try. Prepare to save time and reduce any worries by becoming skilled in the art of passport photography.
Common Passport Photo Requirements
Before you snap your passport photo, it’s important to know the official guidelines. Different countries might have their own rules, but there are some general standards to keep in mind. Following these guidelines will help ensure a smooth acceptance of your photo.
Dimensions and Size Specifications
Your passport photos should follow particular dimensions. Typically, the photo ought to be 2×2 inches (51×51 mm) in size. The head size, from the top of the hair to the bottom of the chin, should be between 1 inch and 1 3/8 inches (25-35 mm). It’s important to ensure that your face fills about 70-80% of the photo space.
Background Color and Type
Your passport photo will look best with a simple, light-colored background like white or off-white. Try to avoid using backgrounds with patterns, shadows, or objects. A clear and consistent background will help highlight your face in the photo.
Facial Expression and Posture Guidelines
Try to keep a calm facial expression. Keep both of your eyes open and your mouth closed. Try not to smile, frown, or make big facial movements. Keep your head straight and face the camera directly, without tilting or turning it.
Clothing and Accessories Rules
Please wear clothing that stands out from the background. Try not to wear white as it could blend in. Please refrain from wearing uniforms, camouflage outfits, or clothing with logos. Keep accessories simple. Avoid wearing hats, headbands, and sunglasses if possible.
Eyewear and Glare
Try not to wear glasses if you can. If you need to wear them, please ensure there is no glare or shadows, and that your eyes are clearly visible. Remember, sunglasses and tinted glasses are not allowed.
Lighting and Exposure Criteria
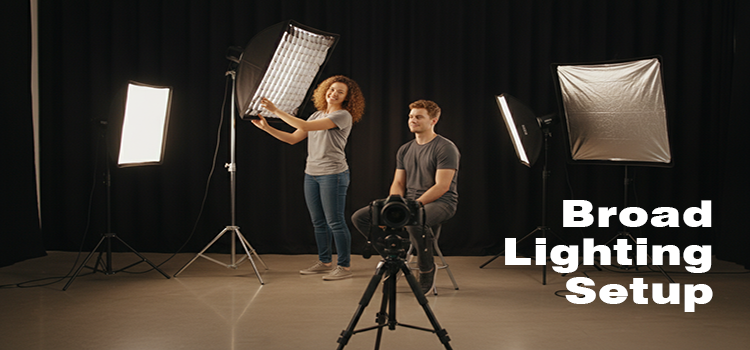
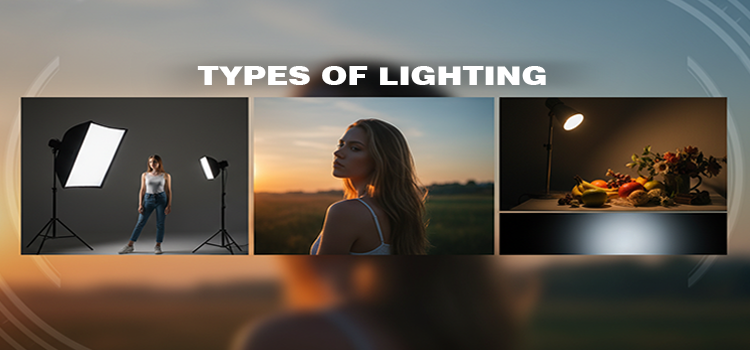
Having good lighting is really important for a great passport photo. It’s best to use soft, natural light to prevent shadows on your face. If you’re using artificial light, remember to make it gentle and not too bright. Your photo should be just right, not too bright or too dark.
Photo Quality and Paper
Print the photo on high-quality photo paper. Make sure digital photos have high resolution. They should have no visible pixels or dots. Also, be sure the photo is in color, not black and white.
10 Pro Tips to Take a Good Passport Photo
Taking a great passport photo can be tricky. But, with these tips, you can make sure your picture meets all the rules and looks great. Here are some expert tips to assist you in achieving the ideal passport photo.
1. Follow Official Guidelines

Begin by getting to know the passport photo rules in your country. They usually include details like size, color, expressions, and clothes. Following these rules is important to prevent any issues. Visit the official government website for the most current and precise information.
2. Use Proper Lighting

For a great passport photo, good lighting is key. Make sure the light on your face is even to prevent shadows. Natural light is usually best, so try facing a window. If you’re using artificial light, make sure it’s gentle and spread out to avoid harsh shadows and glare. Don’t stand right under bright overhead lights. They may cast unflattering shadows on your face.
3. Choose a Neutral Background

Choose a simple, light-colored background for your passport photo, like white or off-white. Ensure the background is smooth without any patterns, textures, or objects. By focusing on your face, you can prevent any distractions that may lead to the rejection of the photo.
4. Maintain a Neutral Expression

Keep a neutral expression with both eyes open and your mouth closed. Avoid smiling, frowning, or making any exaggerated facial expressions. A neutral expression ensures your photo meets the guidelines. It also accurately represents your appearance.
5. Position Yourself Correctly

Position your head at the center of the frame so that your whole face can be seen clearly. Keep your shoulders straight, and make sure both ears are visible. Place the camera at eye level to prevent any distortions. Be sure to leave enough space around your head and shoulders to fit the needed dimensions.
6. Avoid Wearing Glasses

If possible, remove your glasses when taking your passport photo. This prevents glare and reflections that can obscure your eyes. If you must wear glasses for medical reasons, ensure there are no shadows or reflections on the lenses, and your eyes are visible. Avoid wearing sunglasses or tinted glasses.
7. Wear Appropriate Clothing

Select clothing that stands out from the background but stays away from very bright or busy patterns. Stick to simple, darker colors for the most flattering look. Avoid uniforms or camouflage clothing. Make sure your outfit covers your shoulders and doesn’t blend in with the background to ensure a good photo.
8. Mind Your Hair

Ensure your hair is tidy and doesn’t cover your face or eyes. If your hair is long, simply tuck it behind your ears to keep your face free. Avoid hairstyles that create shadows on your face. Keep your hair off your forehead to show your whole face clearly.
9. Keep the Camera at Eye Level

Position the camera at eye level for a straight-on shot. Avoid tilting the camera up or down, as this can distort your facial features and lead to an unflattering or unacceptable photo. Ensure that you keep the camera at eye level, accurately capture your face, and meet the requirements.
10. Use a Tripod or Stable Surface

For clear photos, try using a tripod or resting your camera or smartphone on a steady surface. This will keep your camera steady and give you a sharp, crisp image. If your camera has a timer, use it to allow yourself time to pose without shaking the camera. A stable setup is key for getting a top-notch passport photo.
Common Passport Photo Mistakes & How to Avoid Them
Even with careful preparation, it’s easy to make mistakes when taking a passport photo. Here are some common errors and tips on how to avoid them:
Incorrect Background
- Mistake: Use a background that is not plain or light-colored.
- Solution: Choose a plain white or off-white background. Make sure it is free of patterns, textures, and objects.
Incorrect Photo Size
- Mistake: Not adhering to the required photo dimensions.
- Solution: Size your photo correctly at 2 x 2 inches (51 x 51 mm). Place your head between 1 inch and 1 3/8 inches from chin to top of head.
Improper Lighting
- Mistake: Having shadows on your face or background.
- Solution: Use even, soft lighting. Position yourself in front of a window to enjoy natural light, or consider using soft artificial lighting to reduce harsh shadows.
Wearing Glasses
- Mistake: Wearing glasses that create glare or shadows.
- Solution: Remove glasses if possible. Wear them only with no reflections and fully visible eyes.
Unclear Expression
- Mistake: Smiling, frowning, or having a non-neutral facial expression.
- Solution: Maintain a neutral expression with your mouth closed and eyes open. Look directly at the camera.
Improper Head Position
- Mistake: Tilting your head or not centering it within the frame.
- Solution: Keep your head straight and centered in the frame. Ensure both ears are visible and your face is fully shown.
Unsuitable Clothing
- Mistake: Wearing bright, patterned, or uniform-like clothing.
- Solution: Wear plain, darker clothing that contrasts with the background. Avoid uniforms or camouflage patterns.
Hair Obstructions
- Mistake: Having hair cover your face or eyes.
- Solution: Keep your hair neat and away from your face. Tuck long hair behind your ears to keep your face clear.
Blurry Photos
- Mistake: Taking a photo that is out of focus or blurry.
- Solution: Use a tripod or stable surface to keep the camera steady. Use the timer function to avoid any movement when taking the photo.
Overexposure or Underexposure
- Mistake: Having a photo that is too bright or too dark.
- Solution: Check the exposure settings on your camera. Achieve balanced lighting that showcases your face with optimal clarity.
To Conclude
To ensure smooth travel experiences, it’s important to have a good passport photo. Follow these tips for the best results: make sure the lighting is good, choose a simple background, and maintain a neutral facial expression. Besides, stand in the right position, skip the glasses, and wear appropriate attire.
Keep your hair tidy and use a tripod for stability. Refer to the FAQs if you need extra help. By following these steps, you’ll ensure that the authorities accept your passport photo, which will save you time and effort. Happy travels!
Frequently Asked Questions
What are the most common reasons for passport photo rejection?
Sometimes, officials may decline passport photos. This can be due to issues such as an unsuitable background, wrong dimensions, shadows on the face, glare from glasses, or not having a neutral expression.
Can I wear makeup in my passport photo?
Yes, you can wear makeup, but it should be natural and not alter your appearance significantly. Avoid heavy makeup that might obscure your facial features.
Is it acceptable to use a digital photo for my passport application?
Many countries accept digital photos. But, they must meet specific rules about resolution, size, and quality.
Can I take my passport photo at home?
Yes, you can take your passport photo at home if you follow the official guidelines. Ensure proper lighting, a neutral background, and correct positioning to meet all the requirements.
How do I avoid shadows in my passport photo?
To avoid shadows, use even lighting from multiple sources. Natural light is best, so position yourself facing a window.
Do I need to remove my head covering for the photo?
You can wear head coverings for religion or medicine. But, they mustn’t cover your face.
Can I edit my passport photo?
Basic editing techniques for brightness, contrast, and removing minor imperfections are acceptable. Yet, avoid altering your facial features or using filters that change your appearance.
What should I do if my passport photo gets rejected?
If your photo is rejected, you will need to retake it following the feedback provided. Make sure to adhere strictly to the guidelines to avoid another rejection.


